

21 de December de 2021
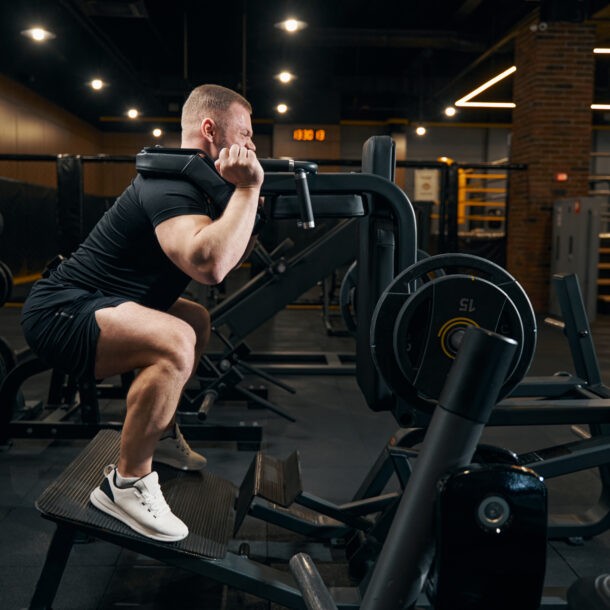
Workout

Push-ups can be challenging because you have to support your entire body weight while keeping your abs and glutes tight. However, despite its difficulty, it is one of the finest full-body workouts for burning calories quicker, building and toning muscles, and eventually gaining strength. Push-ups are so effective and easy that you may perform them anytime, anyplace, without any equipment.
Unfortunately, there are a lot of misconceptions about how to do a push-up correctly. You may be unsure of where to position your hands and feet, where to begin, what areas of the body should be engaged when performing a push-up, whether to keep your chin up or gaze down at the floor, and so on. We understand your concerns, so we’ve put together the best instruction on how to do a push-up correctly without cheating on the movement. Get ready to clear all of your doubts and start doing push-ups correctly.
So, here is why we are obsessed with the correct form. Push-ups with proper technique allow you to feel it in the right portion of your body. Every push-up and down should target the entire upper body (chest region). Most of us are so focused on moving up and down that we are not working out our upper bodies throughout the process. Instead, we engage our shoulders and arms in the action.
The easiest way to avoid this is to practice hand-release push-ups. A hand-release push-up allows you to engage your entire upper body without sacrificing form. But, to be honest, hand-release push-ups may be really difficult, especially if you’re just starting. They put your strength, mobility, and endurance to the test. But, at the end of the day, it’s all worth it; after all, no workout is effective if you don’t perform it properly.
However, if you are a novice, we recommend that you continue reading since we have included a regression exercise of the hand-release push-up later in this post.
Follow the instructions below to learn how to complete a perfect hand-release push-up with proper form.
Step 1: Get to your knees and sit up tall and straight. Keep your hands by your sides and your feet flat on the ground.
Step 2: Form a T with your arms and extend them in front of you. Retract your hands straight back, forming a 90-degree angle between your shoulder and forearm. Observe this hand posture since this is where your hands will be when you are on the floor.
Step 3: Get down on the floor and place your fingers on the ground for a good hold. It is critical to maintaining the 90-degree angle between your shoulder and arms in the previous step because the further you draw your arms in, the more triceps are engaged. Likewise, the more your arms flare out and up, the more your shoulders are engaged. Therefore, place your hands in a comfortable position where your chest is the primary mover. Depending on your comfort level, you can maintain your legs hip-width apart or closer together.
Step 4: Squeeze your shoulder blades by lifting your hands slightly off the floor. Retract your shoulder blades such that if someone were to look down from above, your arms and torso would imitate an arrow. This stance is essential for doing push-ups because it allows you to engage your back and press up using your chest rather than your shoulders or arms.
Step 5: Now, tuck your toes under and press through the floor into a straight arm plank position, and return to the floor. When pushing up and down, it’s crucial to keep your entire body engaged throughout the exercise. You can do this by squeezing your abs, tightening your back, straightening your knee, and maintaining a neutral spine throughout. To do this, imagine a straight line extending from the top of your head down through your heels. You can also lift your head and look forward. This will prevent any sagging or arching of the lower back when pushing up and down.
As promised, here’s a mildly modified version of the hand-release push-up for beginners. The only difference between a full hand-release push-up and a regressive hand-release push-up is that you do not have to lift your knees off the ground. However, much like the full hand release push-up, you must ensure that you work out your chest and upper body. Practicing the regression movement will help you in developing good mechanics and doing the full hand-release push-up properly.
To do the modified hand-release push-up, keep the first four stages in mind and go to step 5 below.
Step 5: Instead of tucking your toes in and keeping your legs engaged, lift your feet off the ground. Raise your feet over your knees and cross your legs. Now, just like the hand-release push-up, squeeze your back, tighten your abs and press through the floor and come all the way down.
We hope you are now ready to do push-ups with proper form. Keep in mind that completing and feeling the push-up in the correct region might be difficult at times. Performing a few sets of push-ups with perfect form is considerably more effective than performing several sets with bad form. When you execute push-ups correctly, you will see better results, especially in terms of muscle and strength gaining. Check out Athletic Vision’s selection of fitness equipment to complement your workout routine.
If you want more tips like this, access now Athletic Vision Blog
